Idividual Vinyl

My pre-search for the viny cutter. Including size, purpose, design and a sketch.
Decal
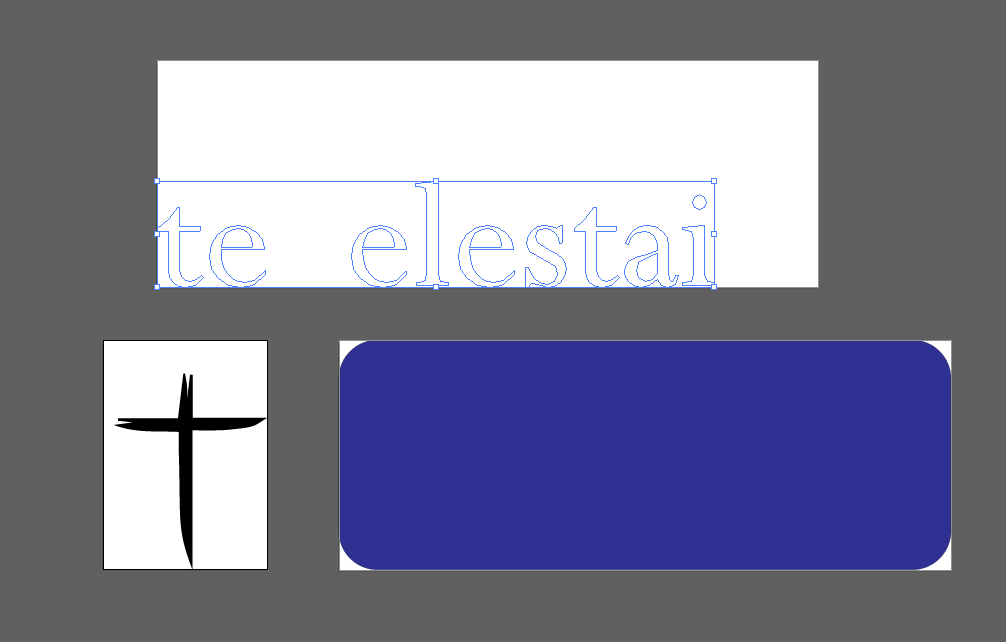
These are the images from Illustrator. The one above is how the design will fit together in my bible. The one to the right is set up for the vinyl software in the innovation center.
|
|
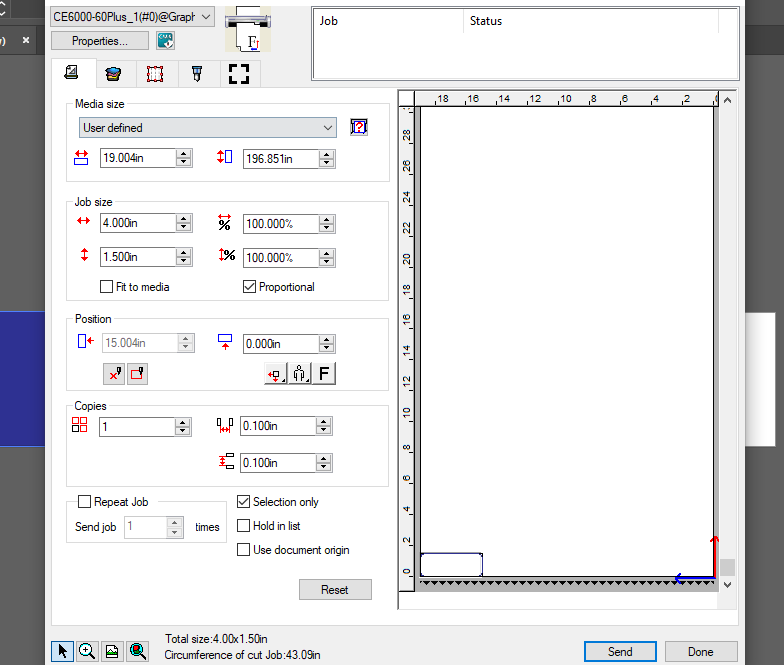
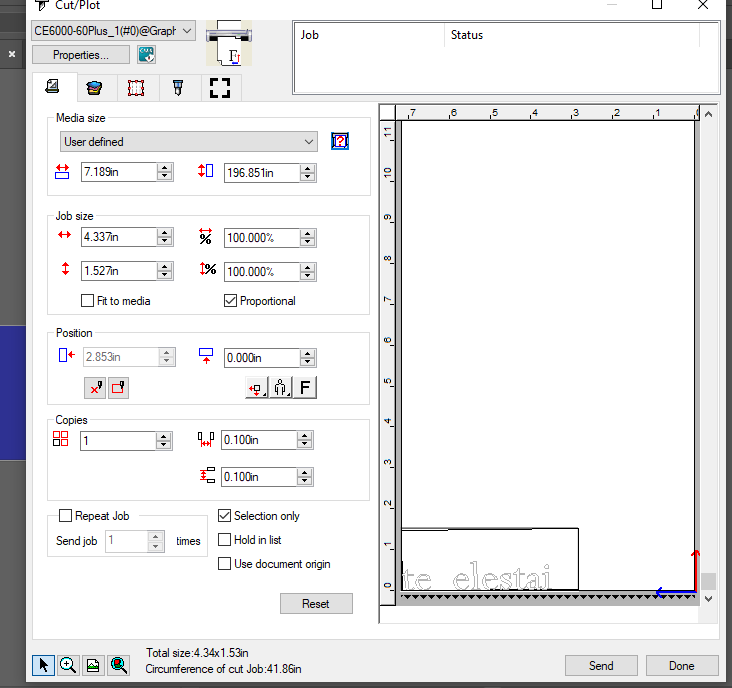
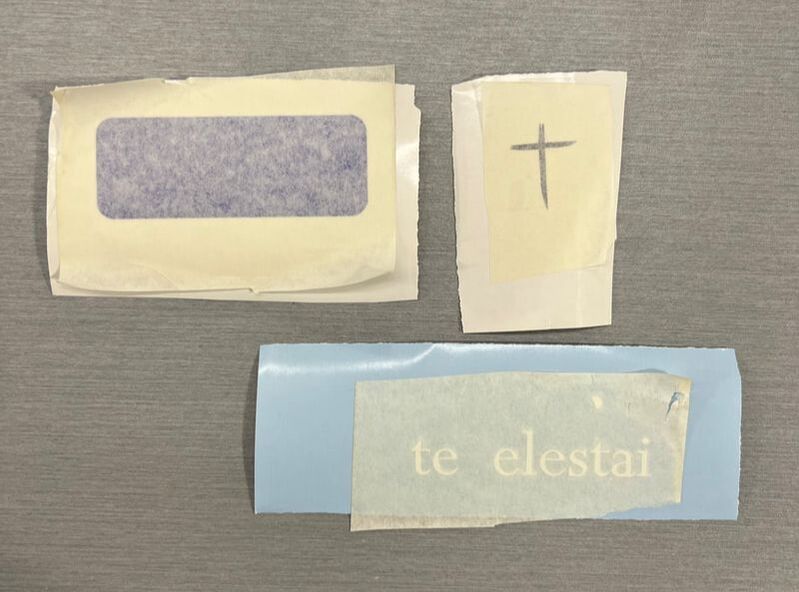
After creating the design, I took my flashdrive down to the vinyl printer and used the software to create the decal.
|
|
|
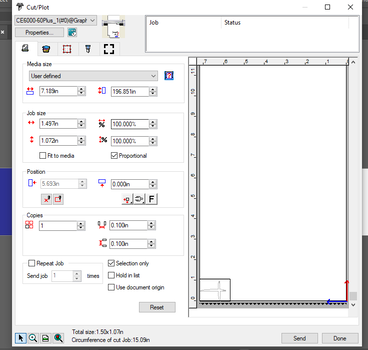
Preview screen before printing for each part of my decal.
|
|
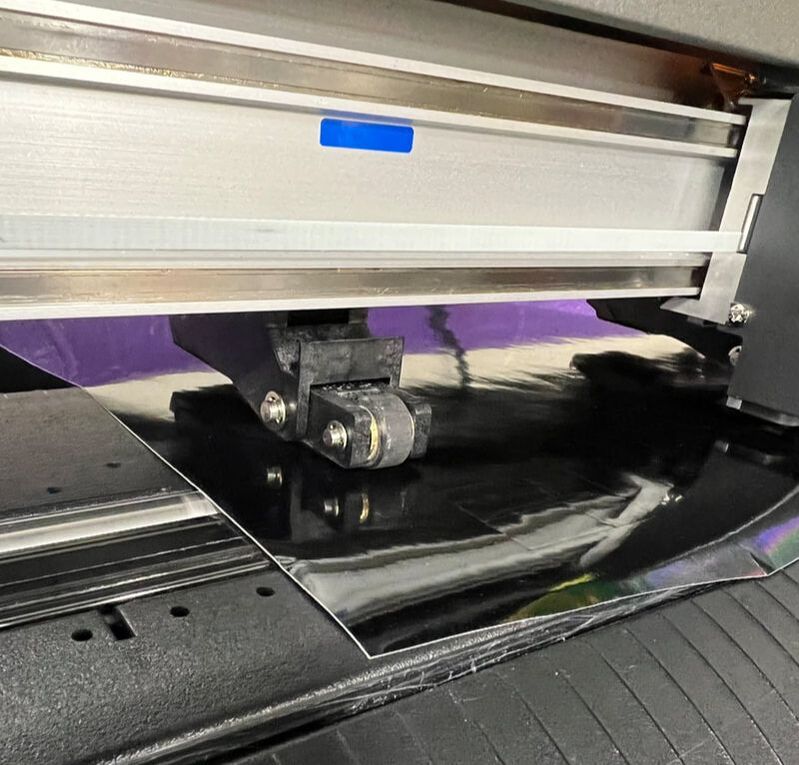
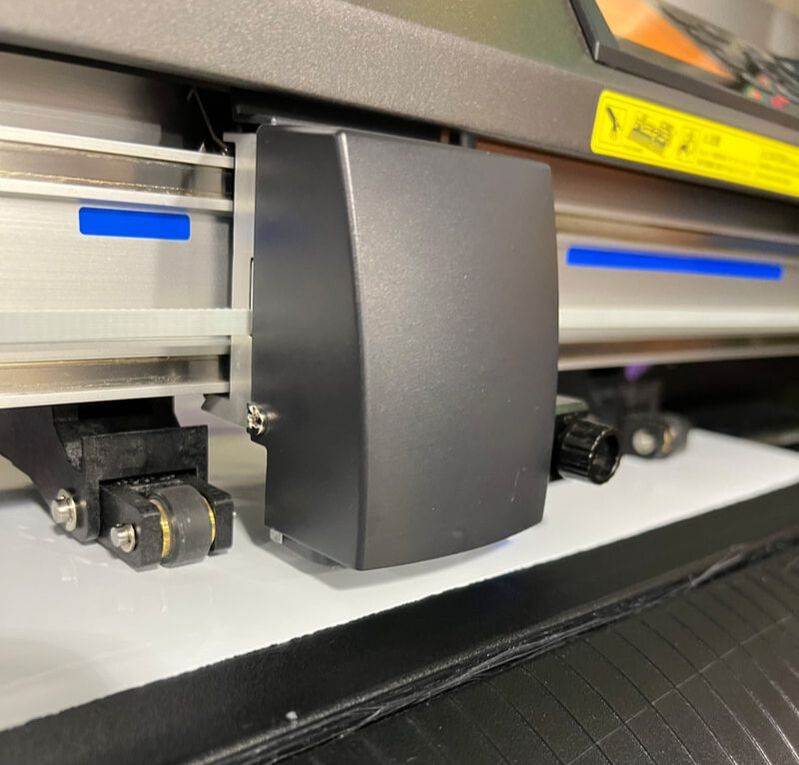
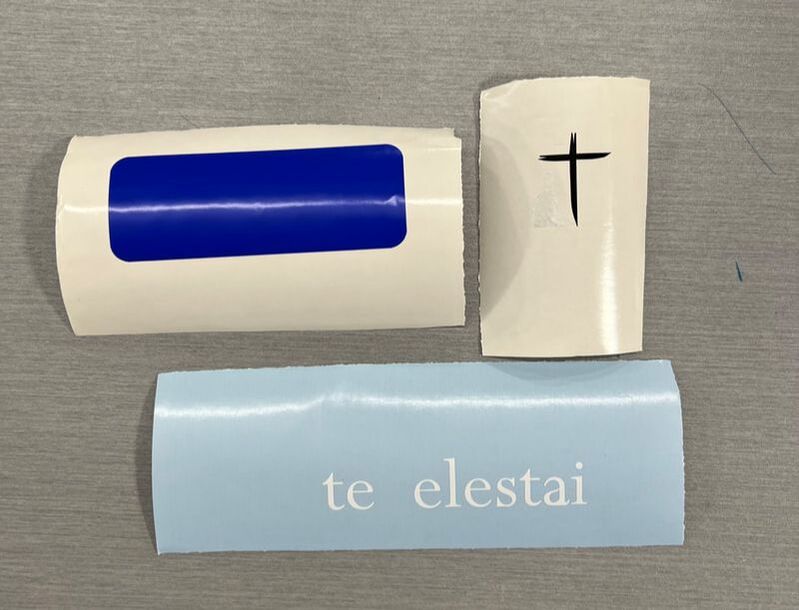
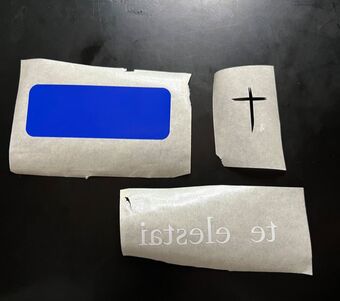
Some photos from the vinyl cutter printing my designs. Once the designs were cut out, it was time to use the vinyl tools to create the the decal.
|
|
|
|
|
|
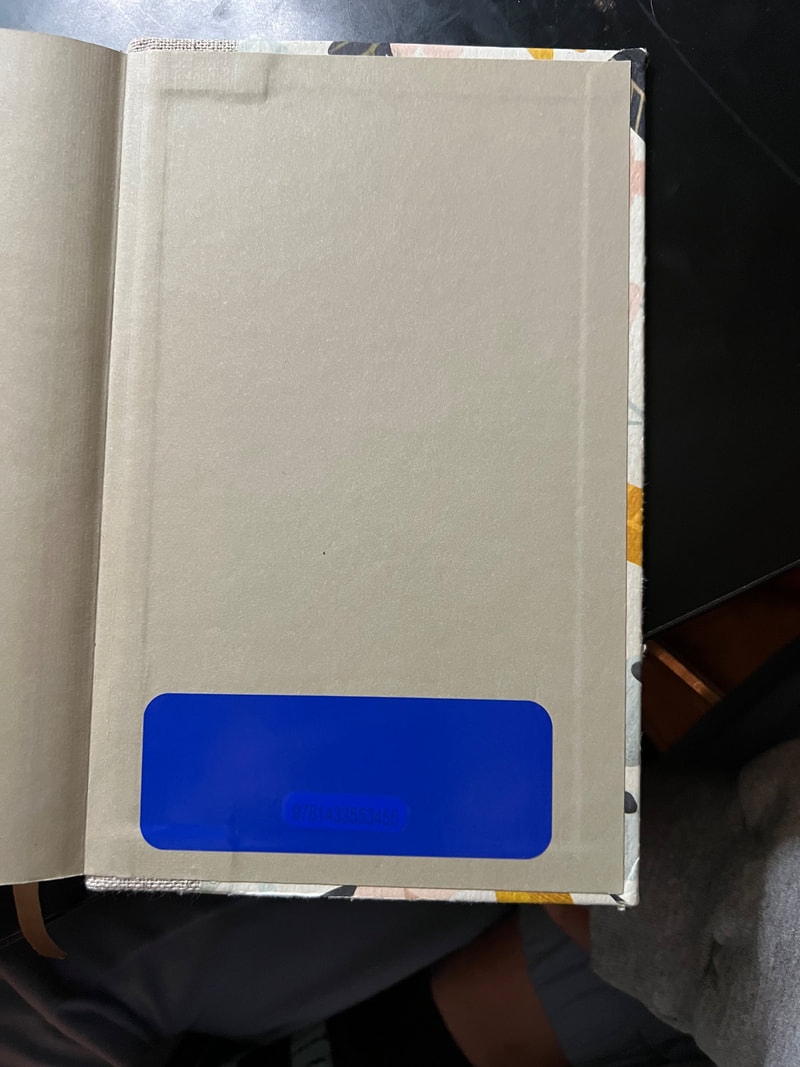
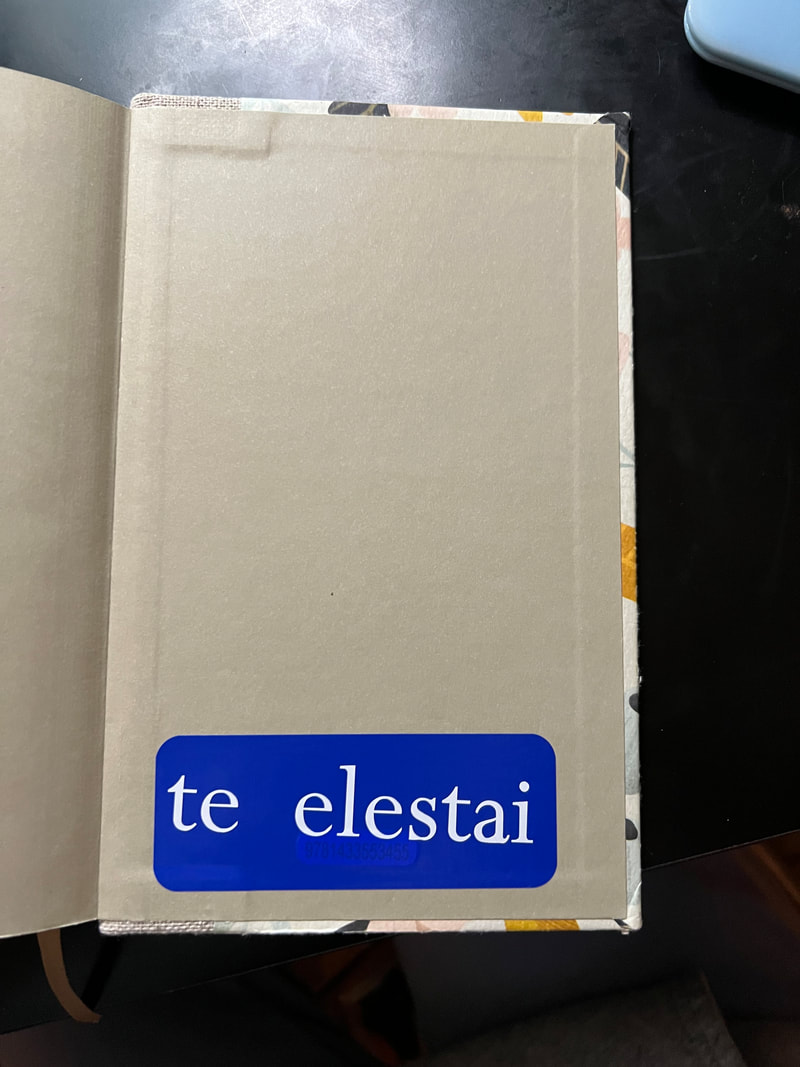
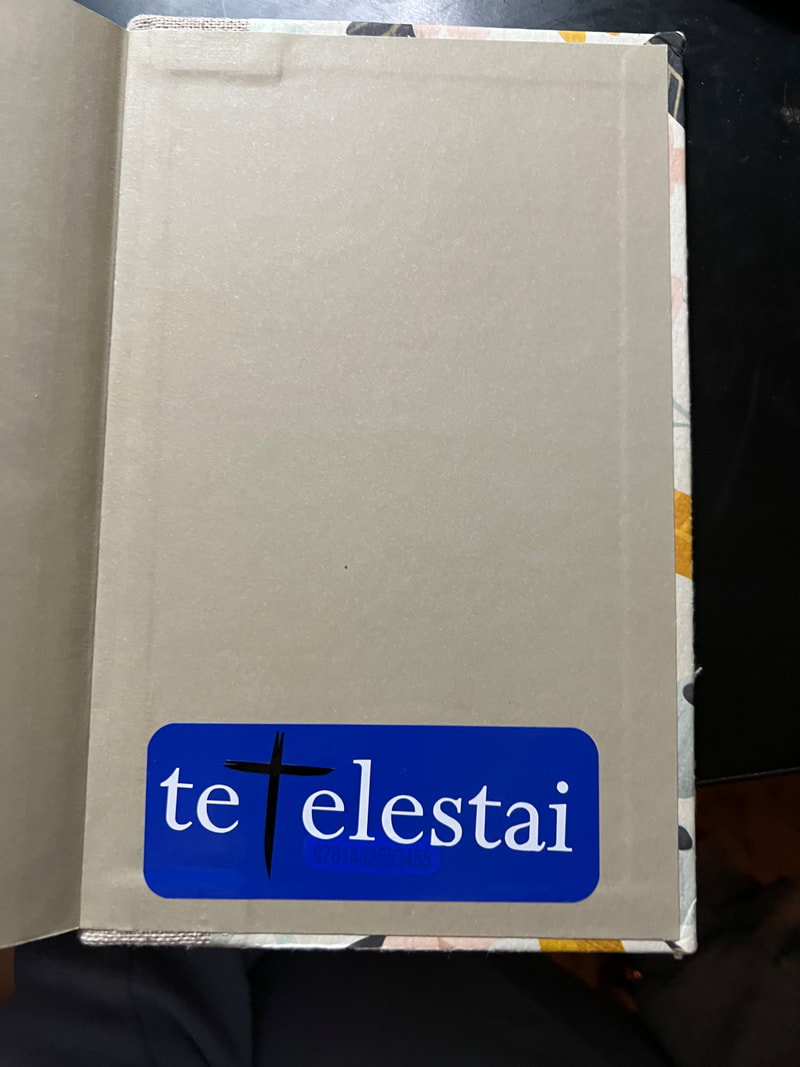
This is the final product of my decal in the back of my bible.
Summary
Out of all the stations we did in these 12 classes, I think this one had the less stresses involved. It was fun and easier to come up with an idea for my design for the decal. Using the vinyl cutter was simple to learn how to do and pretty straight forward. I think my design is cute and other than the way it is very crooked, I like the way it turned out. The process for applying the decal was very satisfying and kind of fun. I was used to using Illustrator at this point so that part was simple and overall this project was fun.
