Illustrator
Adobe Illustrator is another software we used for graphic designing. In this case, we bring our desgins to a laser and be engraved and cut instead of 3D printing. For this assignment, we created a graphic for a keychain. The software allowed us to change the font, size, add images and shapes, and start the process for laser engraving. After finishing your design, we worked in the Innovation Center and used the laser to finalize our keychains.
Laser

|
|
|
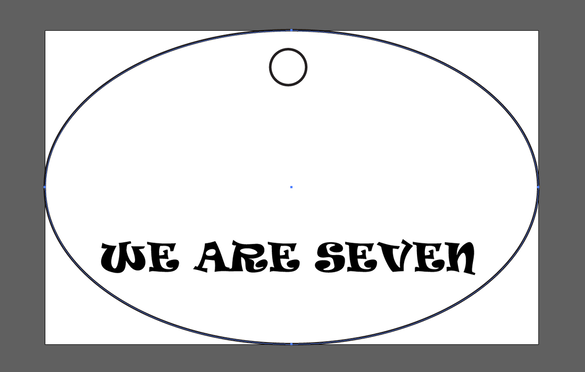
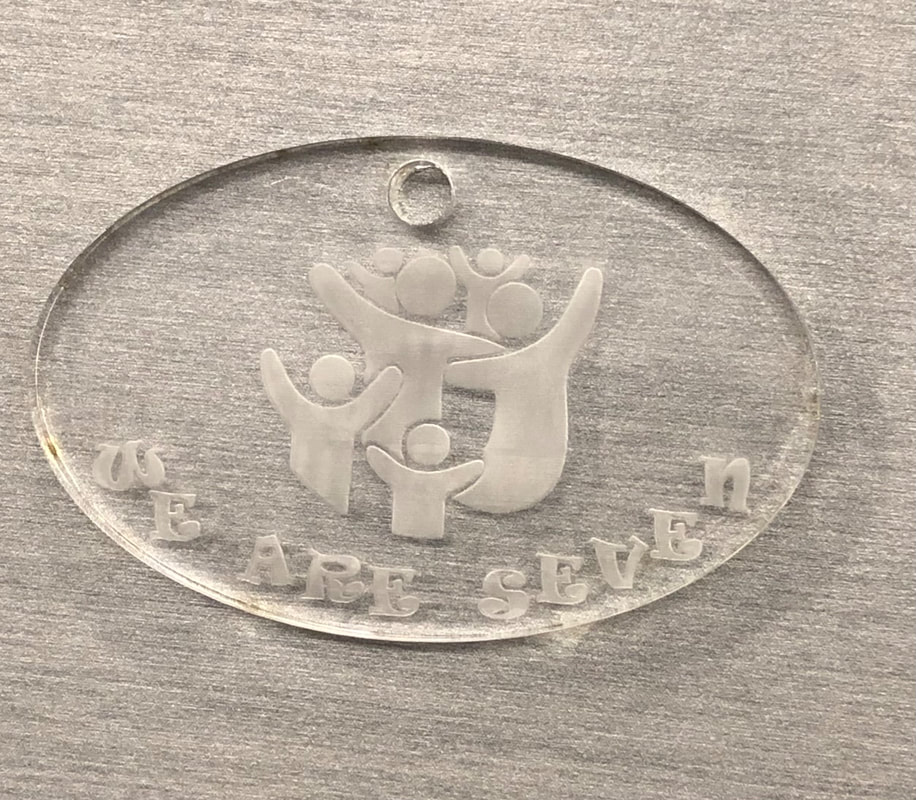
The shape I chose for me keychain & keychain hole:
|
This is the text I added to my design. It was a phrase used growing up since there are seven people in my family.
|
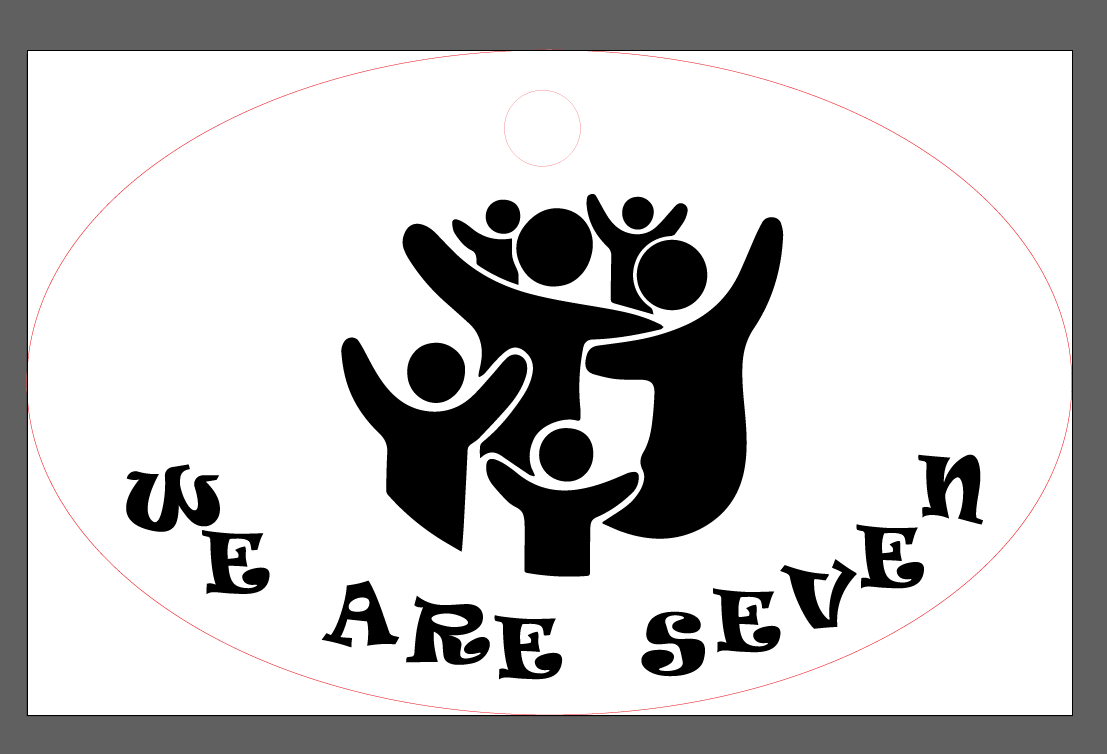
Final design and ready for printing!
|
|
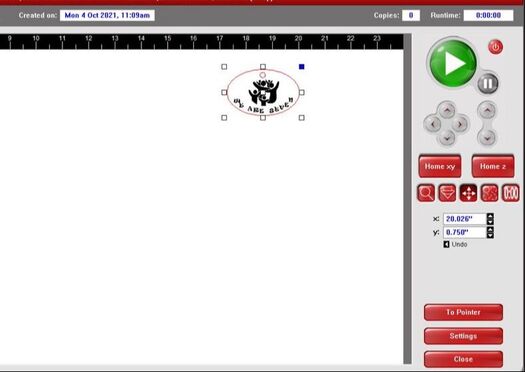
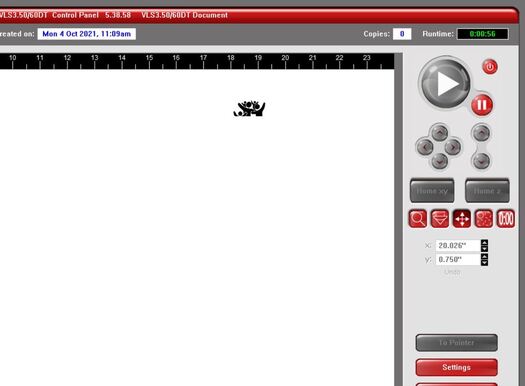
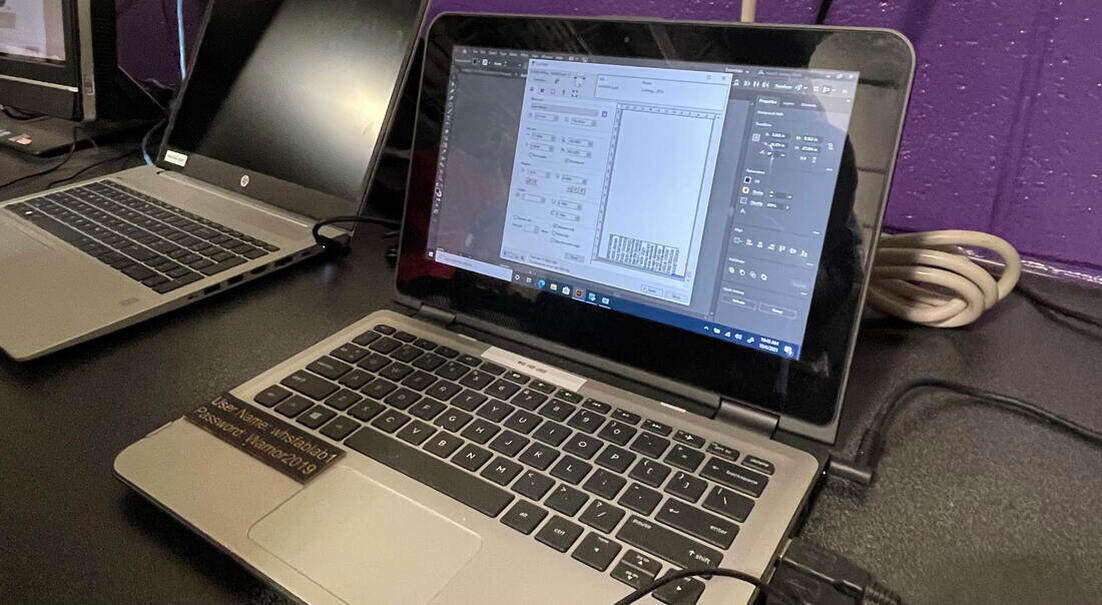
This is the UPC software we used for printing with the laser. This step is used to line up the laser with out material before printing. It gives you a preview of your object and shows you what has been engraved/cut out white the laser is working.
|
|
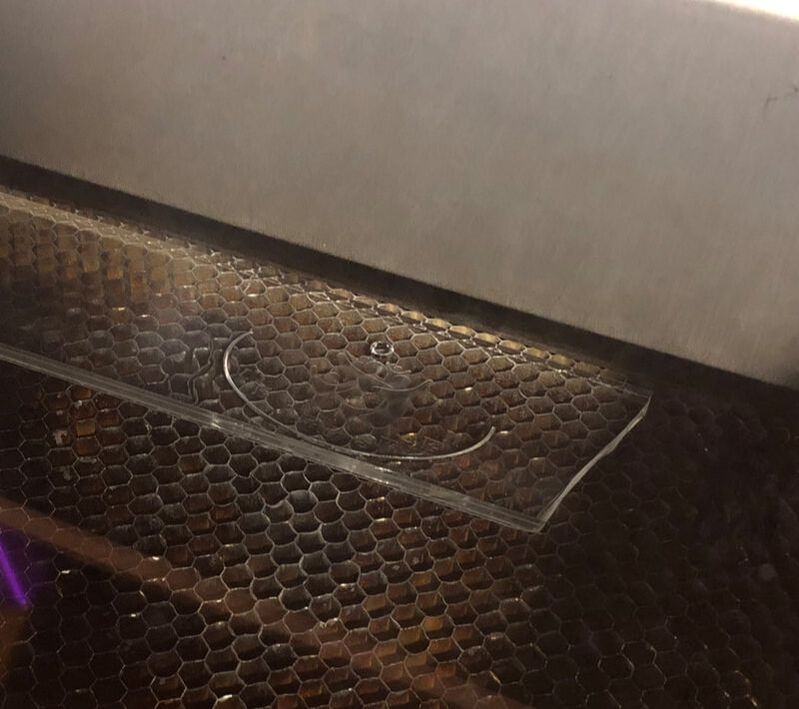
This is an image of the acyrilic in the laser while being cut out. The whole process took about 5 minutes. The final project is shown on the right.
Vinyl Cutter
Vinyl file before printing
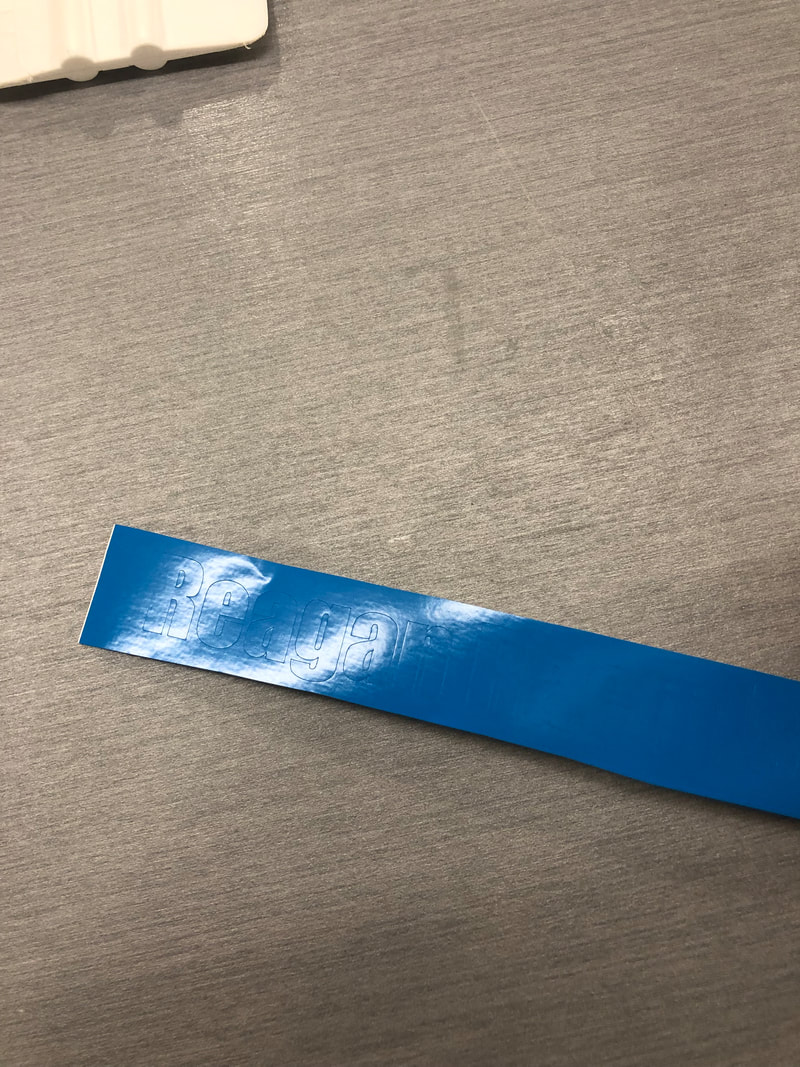
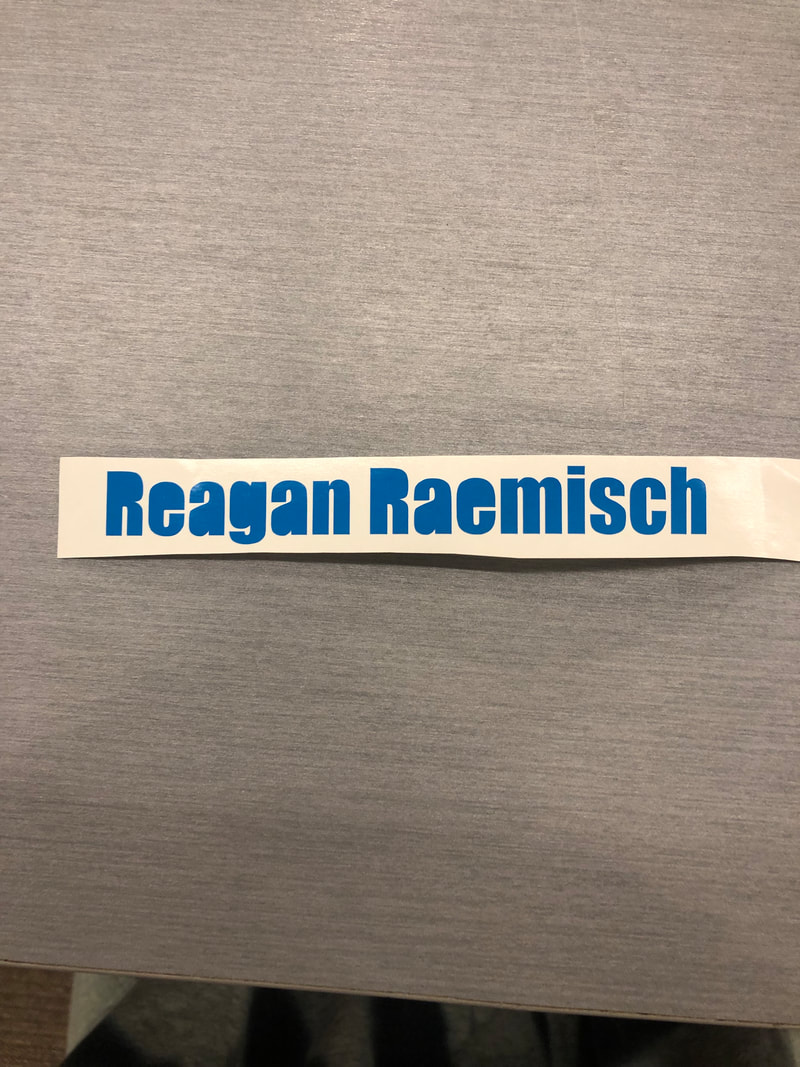
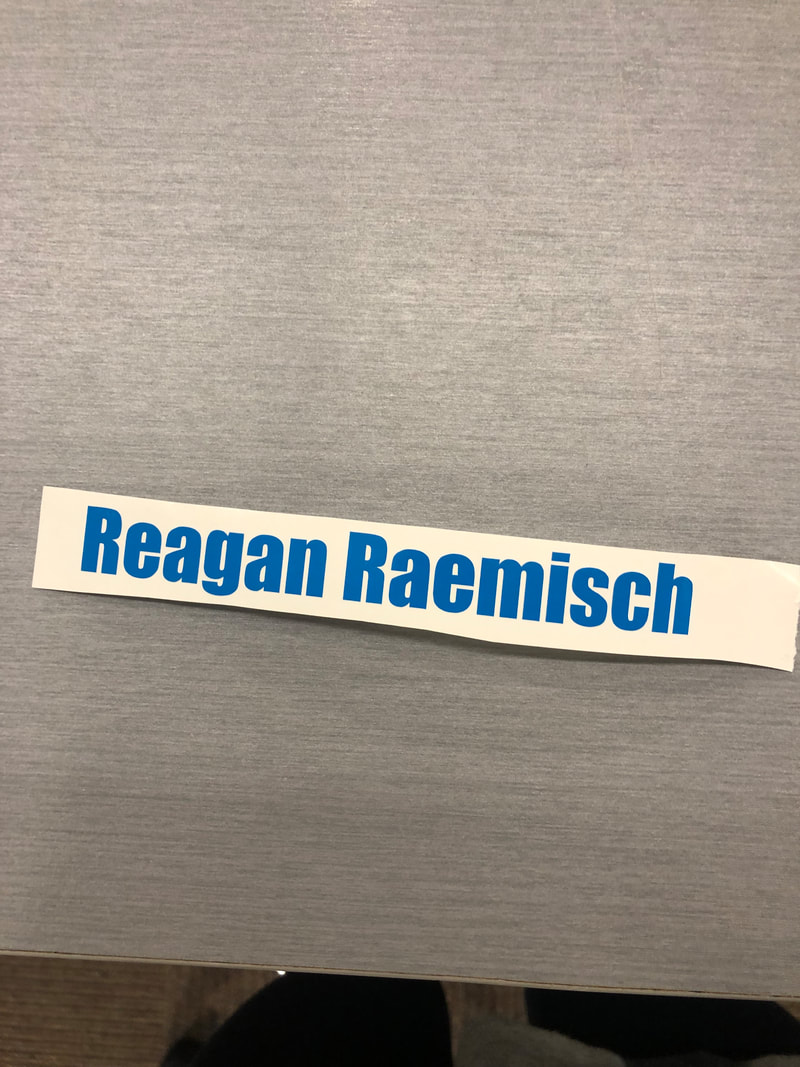

We start with our cut out piece of vinyl. Using our picking tool, we removed the border of the name and the unwanted pieces in the letters. When the name all cleaned up, we placed transfer tape over the decal and removed the back layer of the vinly. Using a squeegee, we pressed it to our notebook.
|
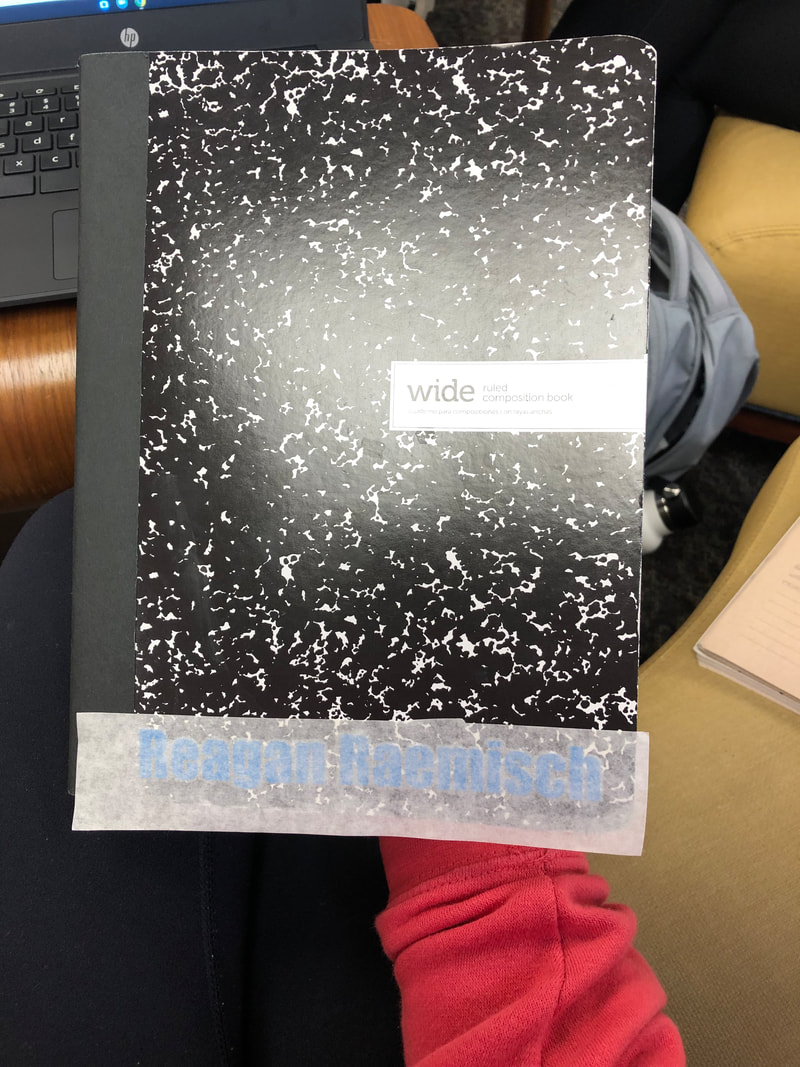
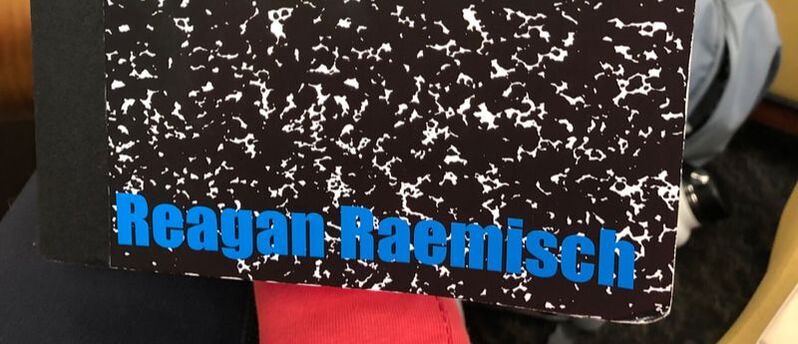
Final Product!
|
summary
Using the laser seemed to be a challenge but actually turned out to be simple. In this unit I learned how useful the handouts are. It's true what they say, the handouts are game changing. Everything you need is in them. I became a master at using the laser software yet seemed to do something wrong everytime. Either way, I feel successful about the work I did and I liked the turnout of my keychain. As for the vinyl cutter, I didn't actually have create the design but placing the decal on my notebook was a fun job. I feel good about both of these projects and am glad for the exposure before doing the individual projects.
